{This is just a little "spin off" of my PoeFam blog that is a home for my domestic attempts...recipes, house stuff and more! It's named after my mom's mom, Miriam Elizabeth Davis...better known as "Gackey!" She was a lovely lady and oh so domestic. So, follow me as I try to fill her shoes...or, better yet, wear her apron!}
Showing posts with label Fun for the Kids. Show all posts

Wednesday, September 28, 2011

I dare you to eat just one…

I just realized that I never posted the few new recipes I made for Nash’s party! All were super yummy and a hit!!! Especially these little guys!…Mommy's View of Nash's Party and more 130

Chocolaty Pretzel Bites
Square pretzels
Hershey’s kisses
M&M’s

Preheat oven to a low setting. Place square pretzels on a cookie sheet. Place unwrapped Hershey kiss on top. Put in oven and watch for kisses to get soft. Before they completely melt, take out of the oven and smush (is that a word!?) M&M into soft Hershey kiss. Place in refrigerator to allow it to cool and set.

Wednesday, September 7, 2011

Painting our Breakfast

Sadly, the Summer of 2011 has consisted of eating out, taking out and more eating out! With our house on the market, I have had NO desire to have ONE MORE THING to clean or plan. And, with the CRAZY heat, the thought of cooking in the kitchen just wasn’t very appealing. So…home cooked meals have become a thing of the past. I miss it.

Anyway, I wanted to share a fun little breakfast Q and I made the other morning. Pinterest gave me {yet another} fabulous idea and Quinn had a blast. And, it was too easy. Hope you have fun painting your breakfast.

Painted Toast
Bread
Milk
Food Coloring
Paint Brushes
Jelly or Honey

Add one drop of food coloring to 1/3 up of milk and stir. Paint lightly on bread.
Toast in toaster. Cover with jelly or honey. Enjoy.

Beginning of Sept 075
Beginning of Sept 077

Beginning of Sept 078

Beginning of Sept 080

Tuesday, April 26, 2011

HE IS ALIVE!!!

I’ve always heard about Resurrection Rolls, but this is the first year that we made them at our house. … And, not only do they illustrate a precious message, but they are YUMMY too! A new Easter tradition at our house!

Baby Ava Elisabeth DePalermo 002        Baby Ava Elisabeth DePalermo 003Baby Ava Elisabeth DePalermo 004
Baby Ava Elisabeth DePalermo 006Resurrection Rolls
1 can refrigerated crescent roll dough
8 large marshmallows
Melted butter
Cinnamon
Sugar

Directions:
Show your child that each triangle shaped section of crescent roll represents the tomb.

Take one marshmallow and explain how it represents the body of Christ. 

Dip the marshmallow in the butter and roll in cinnamon and sugar mixture. This represents the oils and spices the body was anointed with upon burial. 

Lay the marshmallow on the dough and sprinkle more cinnamon and sugar. Then, carefully wrap it around the marshmallow. 

Make sure all seams are pinched together well. (Otherwise the marshmallow will "ooze" out of the seams) 

Sprinkle with MORE cinnamon and sugar.

Bake according to package directions. 

Cool.

Break open the tomb and the body of Christ is no longer there!!

Celebrate God's love!

Wednesday, April 20, 2011

Almost Too Pretty To Eat

When Quinn got up this morning, I had this fun little “food craft” all ready for him to help make. I made the dough, and he got to help with the fun stuff.
1. Mix the colors.
2. Taste the yummy dough.
3. Roll into balls.
4. Smush the balls together.
5. Make into a log…marbling as much as desired.
6. Cut and place on cookie sheet…forming into egg shapes.
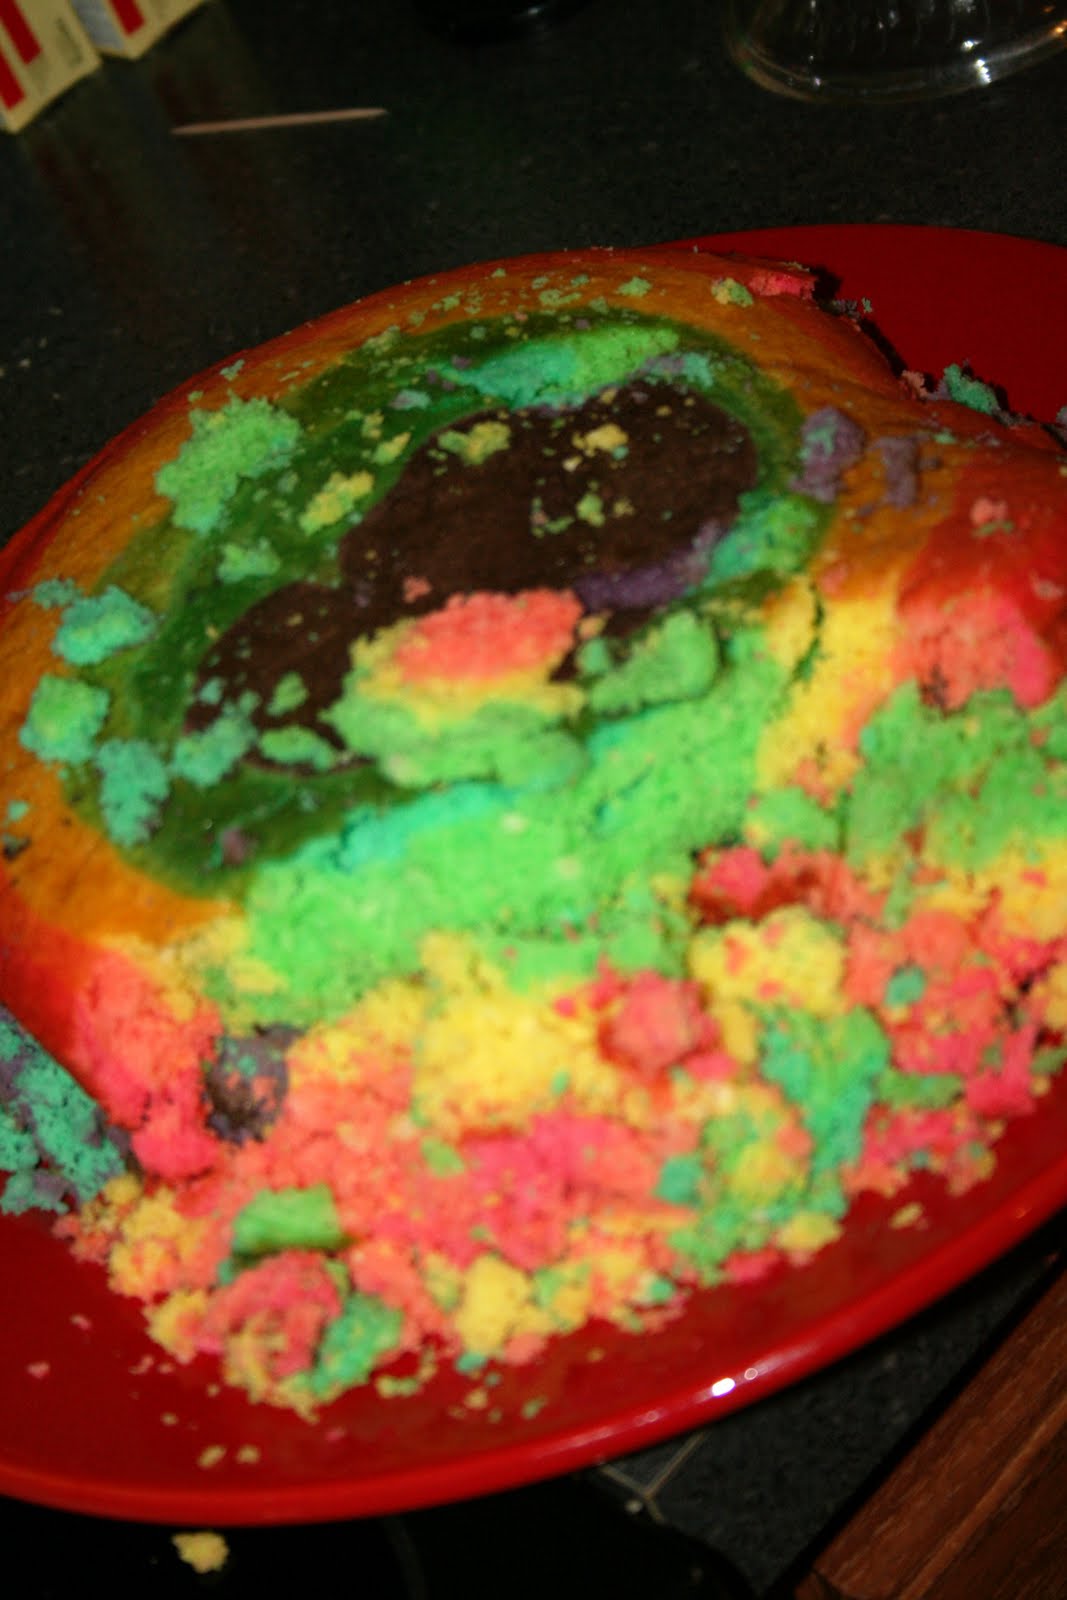
7. Bake and ENJOY!!!
{See recipe below pics!}
April 17-20 061April 17-20 065April 17-20 067April 17-20 068April 17-20 069April 17-20 070

April 17-20 075

Stained Glass Easter Egg Cookies

1/2 cup unsalted butter (softened)
1/2 cup confectioners' sugar
3/4 teaspoon vanilla extract
1 cup flour
food coloring

Put the butter, sugar and vanilla in a bowl. Beat with an electric mixer until creamy. Add the flour. Beat with the mixer for several minutes until a smooth dough forms.

Divide the dough into 5 pieces. Put each piece in a separate bowl. Add several drops of food coloring to each bowl. Make each piece of dough a different color

Work the color into each piece of dough with your hands. Then, roll the dough into a ball. Wash your hands before working on a different color.

Now press all the dough balls together. Roll them into a log. The log should be about 8 inches long. Chill the log in the refrigerator for 15 minutes.

Slice the log into pieces. Each slice should be about 1/4 inch thick. (And, if desired, form them into egg shapes) Put the slices on a cookie sheet and bake them for 10 minutes at 350°.

Monday, October 25, 2010

Candy Corn Cuteness

Since the scary stuff that goes with Halloween just isn’t my thing, I’d say my favorite Halloween symbol is the candy corn. It’s so cheerful, gets me in the Fall spirit…and it’s YUMM, of course! So, when I saw this cute recipe, I was so excited to make them for us! And, they turned out presh! Make ‘em and ENJOY before the stores sell out of this yummy little sugary goodness!

Oct 22-25 029  

Candy Corn Cupcakes

1 box yellow cake mix
3 eggs
1/2 c vegetable oil
1/4 c water
1 c sour cream
Food coloring (orange and yellow)
Frosting of choice

With an electric mixer, beat all ingredients for about 2 min. Divide batter into two separate bowls. Add about a 1/2 tsp of food coloring in to each bowl. Stir Well. Spoon about 1 TB of yellow into the bottom of each cupcake liner. Then spoon about 1 TB of orange batter on top of that. Bake for 20 min, remove and let cool completely before frosting.

      Oct 22-25 031   Oct 22-25 034

Sunday, October 17, 2010

Homemade Fun!

While at Mammer and Slickpaw’s, we made homemade pumpkin play dough. It was so easy and smelled so good. Quinn loved it and has already enjoyed playing with it since we’ve been home. I’m not sure why we haven’t made it before…but we surely will again! 649745608905Homemade Play dough

1 cup flour
1 cup water
1/2 cup salt
1 TBS cream of tartar
1 TBS oil
spices, flavor
food coloring

Heat all ingredients in a saucepan, slow to medium heat. Stir continuously. 522425608905188055608905Once dough is at the consistency you want, remove from heat. 625325608905Have fun!

  166035608905  466345608905    982655608905

656035608905

Friday, September 24, 2010

Hot Dogs with a Twist

We LOVE hot dogs at our house! Maybe it’s our New York City honeymoon that started it all! But, when I saw this recipe that put a little twist on hot dogs, I knew we would enjoy it! And, I knew Q would too! It was yum!
BatCave 001Hot Dog Twists 

1 3/4 cups Original Bisquick® mix
1/3 cup milk
2 tablespoons Ranch dressing 
8 beef hot dogs
1 tablespoon milk
2 tablespoons grated Parmesan cheese

Heat oven to 425ºF. Spray cookie sheet with cooking spray.

In medium bowl, stir Bisquick mix, 1/3 cup milk and 2 tablespoons of Ranch dressing with fork until soft dough forms; beat 30 seconds. Place dough on surface dusted with Bisquick mix; roll in Bisquick mix to coat. Shape into a ball; knead 10 times.

Roll dough into 12x8-inch rectangle. Cut dough lengthwise into eight 1-inch strips. Shape 1 piece of dough around each hot dog in a spiral design; seal ends if necessary. Place on cookie sheet.

Brush 1 tablespoon milk over dough; sprinkle with cheese. Bake 10 to 12 minutes or until golden brown.

Monday, November 16, 2009

Oh, Dishwasher...I miss you!!!

Almost 2 months ago, our dishwasher broke...and we just haven't made it a priority to get it fixed. But, after a failed attempt to make this cake for Alli's shower...and then doing it all over again for cupcakes, I was about ready to call the repair man! :) ...Needless to say, this recipe calls for LOTS of dirty dishes. But, it's worth it in the end. For whatever reason, my cake stuck horribly...but the cupcakes were perfect, yummy and a HUGE hit! ... Check out this blog for beautiful step by step pictures! .... Before baking, this is what it looked like...
And, after! SAD! Maybe i just needed to cook it longer!?!?....
Rainbow Cake (or cupcakes)
2 boxes white cake mix
24 oz of clear diet soda (I used ginger ale)
gel food colouring
16 oz whipped topping
2 oz instant fat-free sugar-free pudding mix (2 smallish boxes)
cream cheese
1/2 stick margarine
Powdered Sugar (if needed)
***
Mix the cake mix with the soda according to regular instructions on box. It will be lumpy afterward. (Use NOTHING else...just cake mix and soda) Measure the total volume then divide by 6 and measure into separate bowls. Stir color into each bowl with its own spoon. Layer the colors into your pan as you choose. (see pictures)
***
Bake the cake for however long the box tells you to bake it. Check it when the box says to, but usually it’ll need an extra 5 or 10 minutes or maybe more because of the density of the soda method. Just keep baking, checking back every 5 minutes or so until a toothpick to the center comes out clean. Let cool completely before moving to a wire rack.
***
Meanwhile, make your frosting. Just mix the pudding mix in with the whipped topping for a few minutes. (You can stop here, if you want the low fat option!...I added 1/2 stick of melted butter, softened cream cheese and some powdered sugar.) Dye if you’re into that.
***
Frost and Eat.

Monday, November 2, 2009

Tummy Ache Goodness

I got this one from Annalee! I tweaked it a bit...added Peanut Butter! And, it was GOOD! Very sticky and very sweet...but, GOOD!POPCORN MADNESS

1 bags of microwave popcorn
1/2 bag of marshmallows
Peanut Butter (as much as you'd like)
m&m's
2 T butter

Grease bundt pan. Pop the popcorn. (take out unpopped kernels) Melt the marshmallows and butter. Mix popcorn and marshmallows. Add m&m's.(and, for Halloween, I added candy corn as well!) Put in bundt pan, press it down and let it cool. Turn over & put on cake stand or serving plate.

Wednesday, October 28, 2009

Fun for the Kids

I decided to add a new catagory to the recipes..."fun for the kids!" When I come across a fun and kid-friendly snack/treat, I'll post it on here with that label! ... And, here are a few that have recently been devourerd at our house!!!...

The first is pretty self-expainitory! When we were having hot dogs the other night, Q wasn't feelin' it. So I made him his own form of hot dog...why not? ... PB & Banana Hot Dog

1 hot dog bun
1 banana
Peanut Butter
Sprinkles (optional but OH SO FUN!)

Assemble and EAT!

Then, after a week down of Potty Training, it was time for a special treat! And, on the back of the cupckae box, I had seen the recipe for these...So easy! So cute! And SO much easier to eat than a normal cupcake!
Cupcake in a Cone
1 box of cupckae mix (and ingredients needed to make)
Ice Cream Cones
Icing
Sprinkles
Cupcake liners
Prepare cupcakes as directed on package. Place cupcake liners in tin. Fill 2/3 full with batter. Place cone in batter (bottom side/point side up, obviously). Bake acording to package directions. Let cool. Take out of pan and remove paper liner. Cover with icing and sprinkles!